This post is about resetting the warning lights on the 3rd generation Mini Cooper.
I replaced the rear brake pads myself after they wore down.
When it’s time for replacement, the sensor connected to the brake pads touches the disc, and the warning light comes on.
I drove an additional 3700km after the warning light came on before replacing them.
Once the warning light is on, it continues to illuminate until it is reset, so if you do not reset it, the warning light will come on every time you start the car.
3rd Generation Mini Cooper Warning Light Reset Method
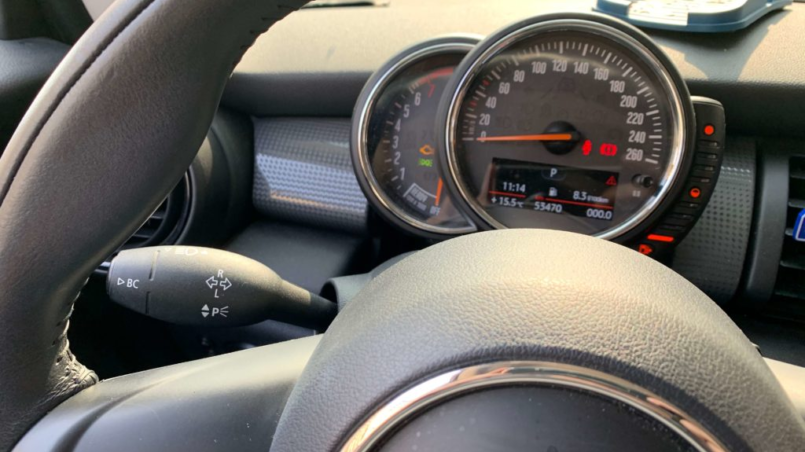
Resetting is done with the ignition turned on but not started. Pressing the START button twice without pressing the brake will turn it to ON mode.
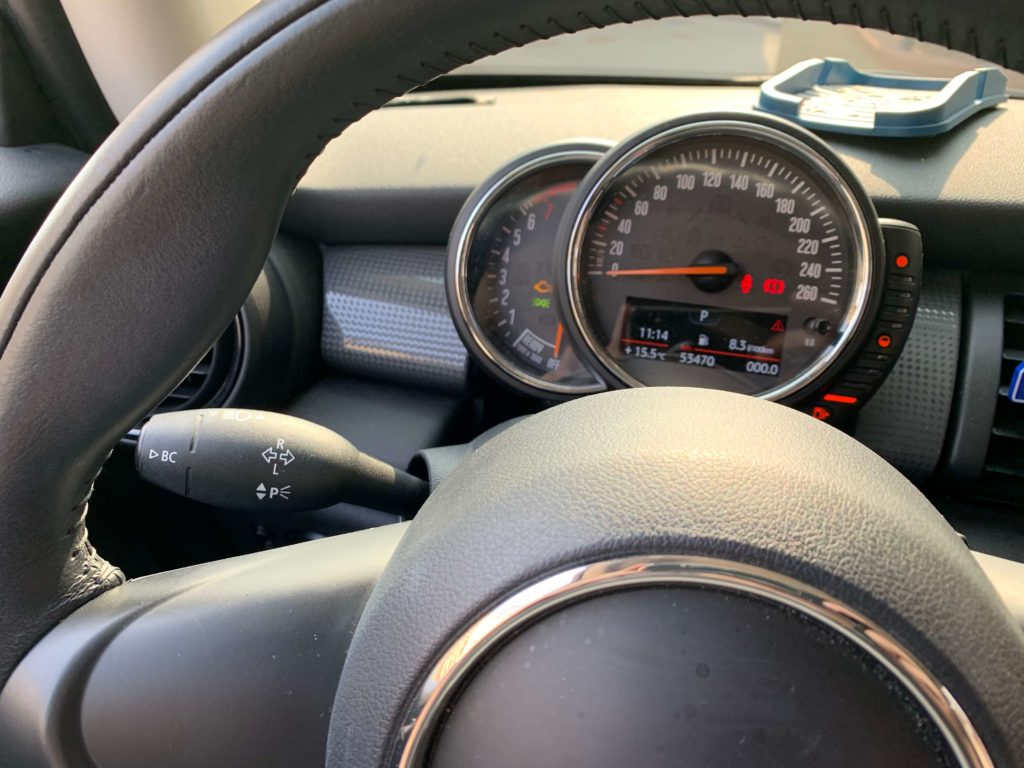
At this time, if you press and hold the BC button and the dashboard button simultaneously for about 5 seconds, a mode that allows for resetting will appear on the dashboard.
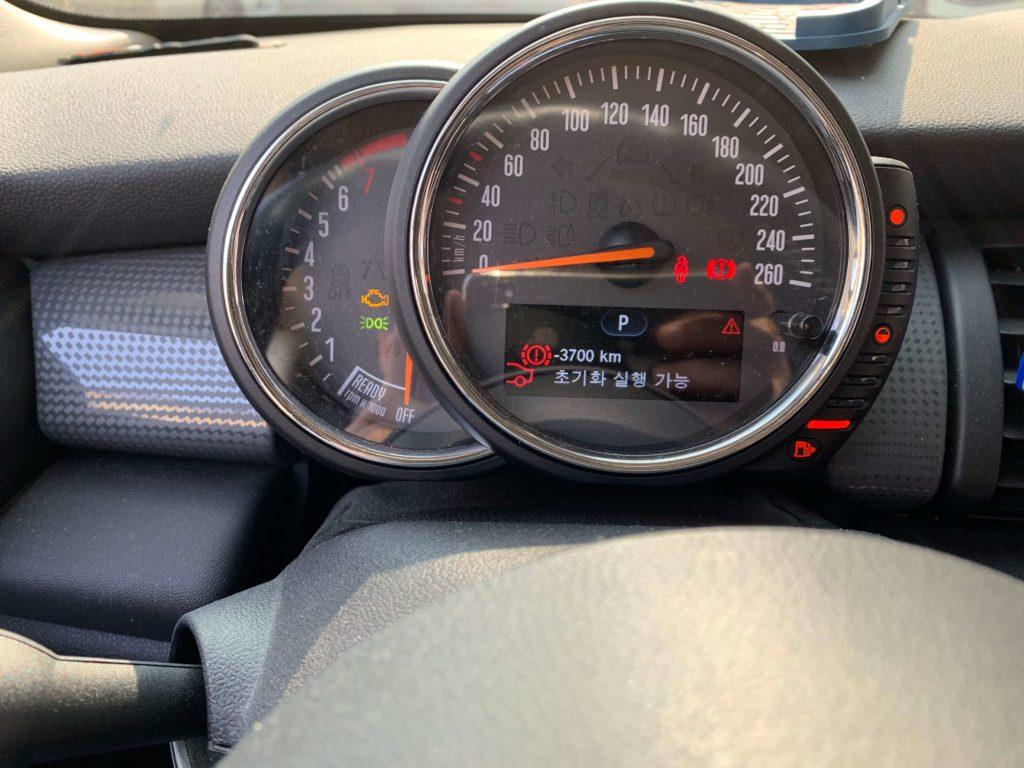
“Pressing the dashboard button briefly will switch to another menu. When the menu you want to reset appears on the screen, press and hold the dashboard button again.”
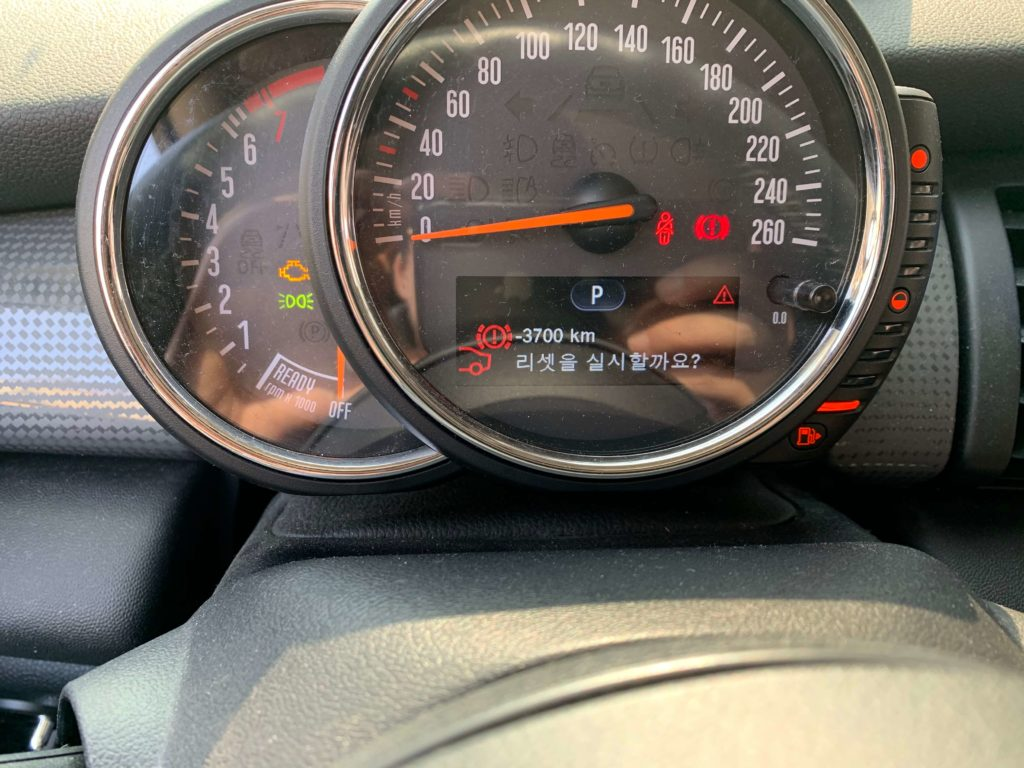
I needed to clear the brake pad replacement warning, so I pressed and held the dashboard button while on the brake warning light position.

Pressing and holding the dashboard button again at this point will display a message that says [Reset Successful].
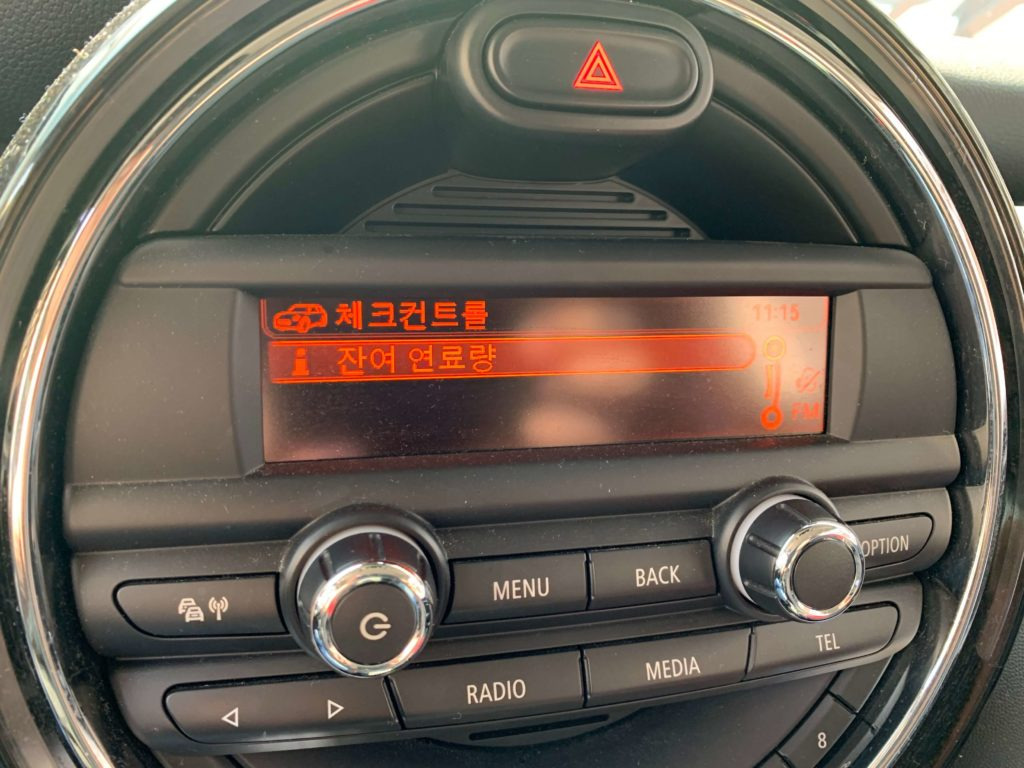
I went into check control and confirmed that the brake check had disappeared. The reset was completed very simply.